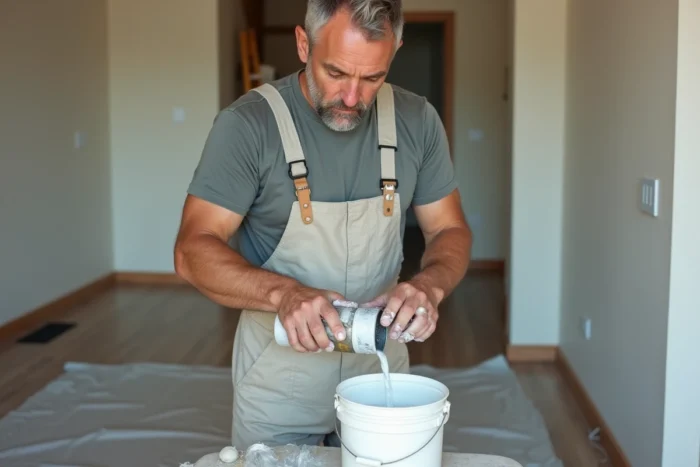
The 5% dilution is not just a simple mathematical operation, but a precise adjustment based on viscosity and the substrate. This proportion, often noted on the containers, can sometimes be insufficient or excessive depending on the ambient temperature or the type of tool used.
Some manufacturers allow margins of up to 10% without guaranteeing the final result. The choice of thinner, the method of incorporation, and the order of addition play a crucial role in the success of the application. Ignoring these parameters exposes one to adhesion defects, streaks, or uneven coverage.
Why the 5% dilution changes everything for your painting projects
Forget preconceived notions: the 5 percent paint dilution is not just a rule copied from a label. This carefully measured ratio adjusts the fluidity of the product without weakening its covering capacity. In practice, whether for a large-scale project or a delicate finish, adhering to this ratio transforms the application: the paint glides, touch-ups blend seamlessly, and uniformity prevails over every square meter.
From the first passes of the roller, you can feel the difference. A paint with the right consistency conforms to the surface, avoids drips, and spreads easily. Professionals know: too much water or thinner and the color dilutes, the finish loses its luster. Not enough, and adhesion fails to meet expectations, the durability leaves much to be desired.
Some mistakes should be avoided: pouring all the thinner at once, for example, ruins the balance. It’s better to proceed with small amounts, mixing thoroughly to achieve a homogeneous texture. On a new or porous substrate, this 5% paint dilution allows the material to penetrate, ensures better adhesion, and optimizes consumption. On a previously painted surface, the finish gains in finesse.
For each step, the method matters. First, check the compatibility between paint and thinner. Follow the recommended dosage. Observe the texture, and adjust if necessary. The success of a paint dilution relies on listening to the material, precise gestures, and vigilance at every moment.
Which products and tools to choose for controlled dilution?
It all starts with the choice of thinner. It’s impossible to overlook the composition: an acrylic requires clean water, while a glycerophthalic paint will only tolerate white spirit or suitable thinners. This respect for the product prevents unforeseen reactions, maintains the intensity of the color, and the durability of the dry film.
To ensure a consistent dilution, proper equipment is essential. Here are the tools to prioritize:
- Graduated bucket for accurate liquid measurement
- Manual mixer or wide spatula
- Electric mixer for large projects
- Clean rags to clean edges and avoid stains
The choice of thinner always depends on the nature of the product: water for acrylics, white spirit for oil-based paints, a custom thinner for technical formulations. Before adding anything, consulting the brand’s guide remains the best guarantee for adjusting the proportion and aiming for a successful paint dilution.
Mastering your equipment and knowing your products is the foundation for a consistent application, a clean and neat finish, on both new walls and old surfaces.
Expert tips for achieving perfectly homogeneous paint
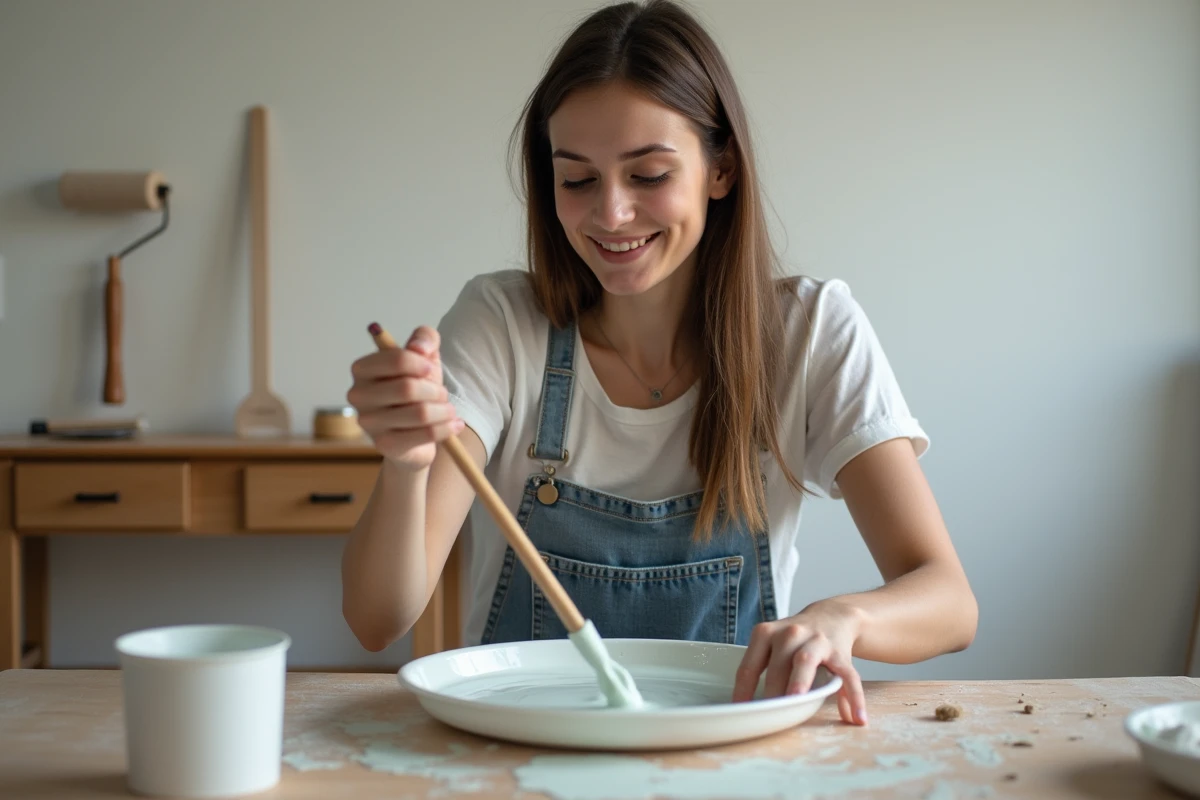
The paint dilution requires precision and patience. It’s impossible to achieve a smooth and uniform material if you rush the first few minutes. Start by pouring the paint into a clean bucket, then add the thinner in a steady stream, very slowly, never the other way around: this detail prevents air bubbles and facilitates mixing.
The mixing step is non-negotiable. A wide stick or spatula, submerged to the bottom, allows for gentle homogenization. For large volumes, a mixer attached to a drill takes over and speeds everything up. The goal: a fluid consistency, free of lumps, that flows easily from the brush or roller.
Always check the surface after mixing: the slightest bubble or trace indicates a defect to correct. Let it rest, then mix again. This vigilance prevents defects on painted surfaces, minimizes marks, and ensures consistent drying.
Some seasoned painters even adjust the amount of thinner when the thermometer rises above 25 °C, to compensate for rapid evaporation. Keep your tools clean, scrape the edges of the bucket, work in small quantities: these gestures, born from experience, make all the difference. Successful dilution tolerates neither carelessness nor haste. It is in the consistency of the gesture that the quality of the result lies, and in the attentive gaze that the hand of the demanding painter asserts itself.